Email Magazine
The Road to Proficiency_3(12/8/2021)
This is the third in a series of reports on my journey from being a beginner in Raman microscopy to becoming proficient in using the equipment. I changed the name of the series to “The Road to Mastery”. This is a bit of a stretch.
Previously, I measured a piece of plastic with a Raman microscope and matched the obtained spectra to a database. However, that was just a measurement of one location, that is, using the Raman microscope as a spectroscope rather than a microscope.
This time, we finally took on the challenge of obtaining a two-dimensional image. (Email Newsletter editor-in-chief / freelance writer, Takeshi Nemoto)

Measure 3 layers of plastic
Ms. Mariko Adachi (Senior Engineer), Sales & Applications at Nanophoton, was my teacher again. Despite her busy schedule, she quickly taught me the main points. In other words, you don’t need to be taught a lot to learn the measurement method. However, now that I have operated it a few times, I feel that there is a deep world waiting for me if I start looking for the beauty of the data.
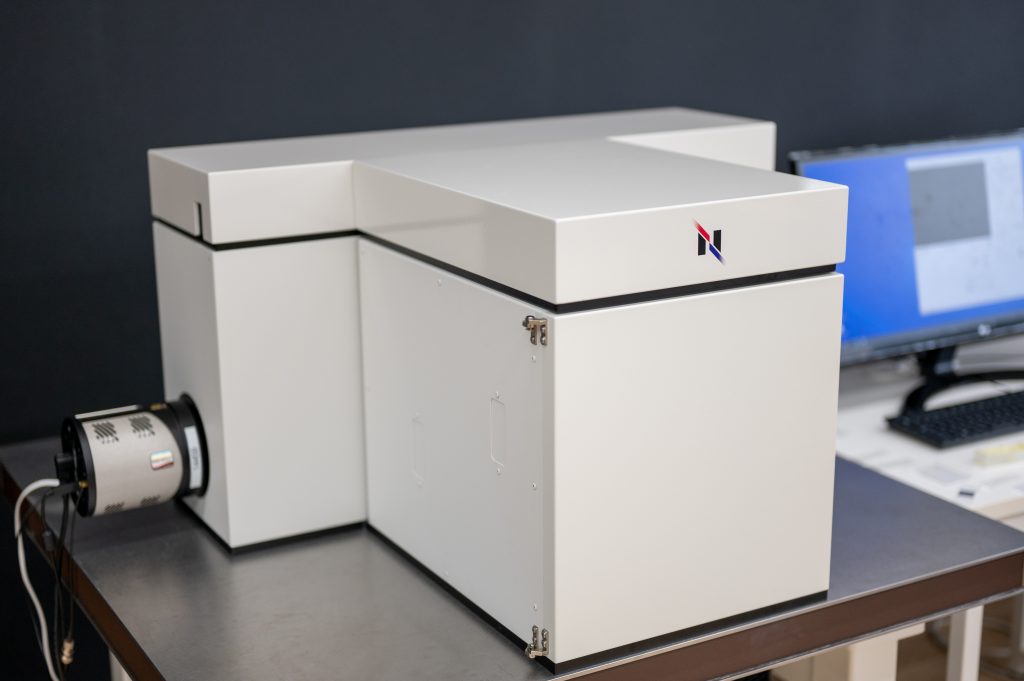
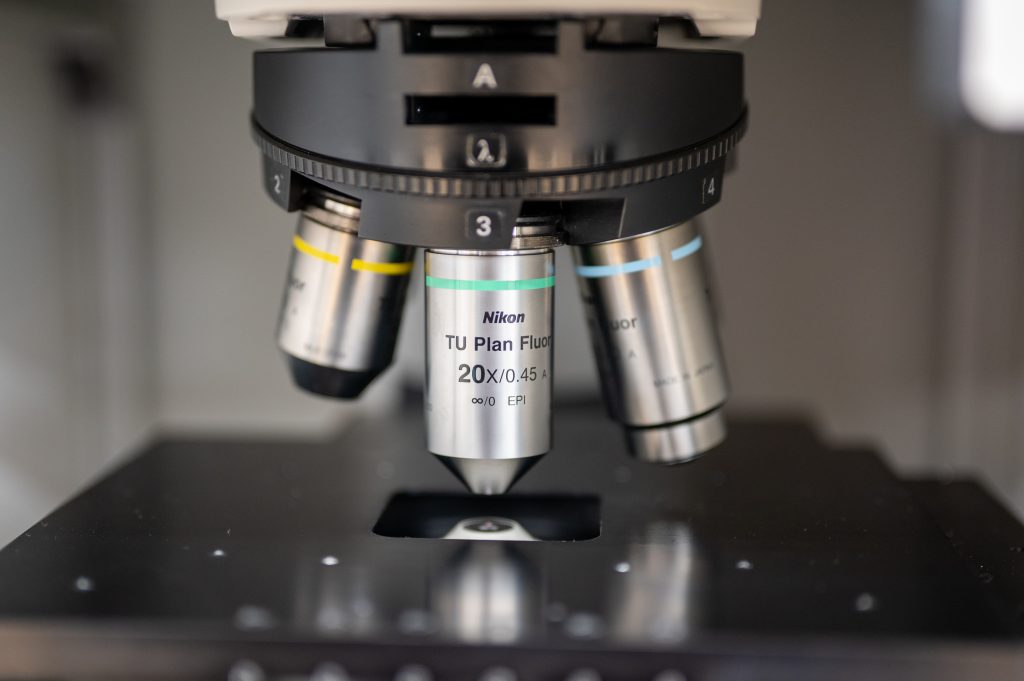
The equipment I used was a RAMANtouch laser Raman microscope installed in the Osaka showroom of Nanophoton. The sample was a three-layered plastic that Ms. Adachi prepared for me. The challenge was to measure this plastic in the depth direction and obtain x-z images. The objective lens was set to 20x.
First, focusing; RAMANtouch can measure 400 points simultaneously by shining a line laser on the sample. This is the secret behind the high speed measurement. When focusing, you can also use this line illumination mode and use the laser spot confirmation function for easy viewing.
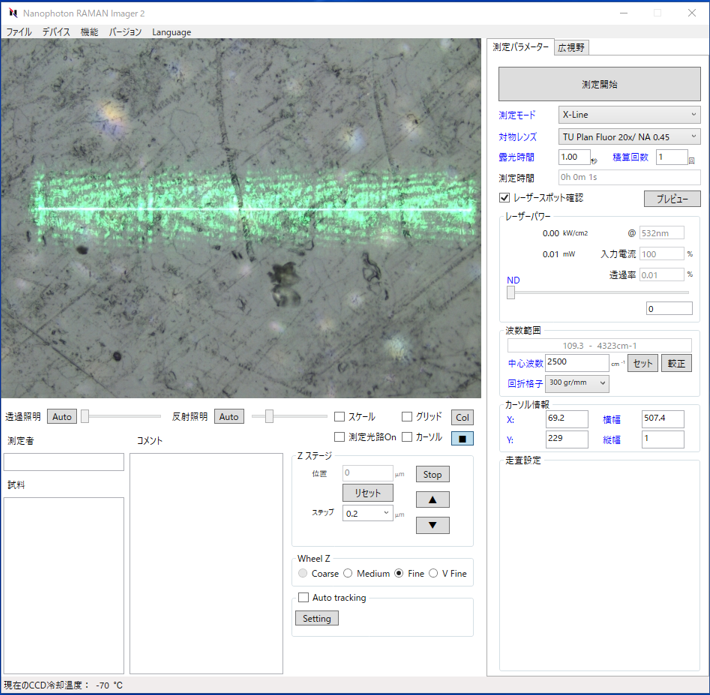
The screen above shows the sample surface in focus. When the “Check Laser Spot” checkbox is checked, a green line will appear, so use the mouse wheel to adjust the line so that it becomes thinner. After that, I focused on the back of the sample and found that it was in focus at 50 µm from the surface, so I set the measurement to be taken at intervals of 1.0 µm to this depth.
Results in less than two minutes.
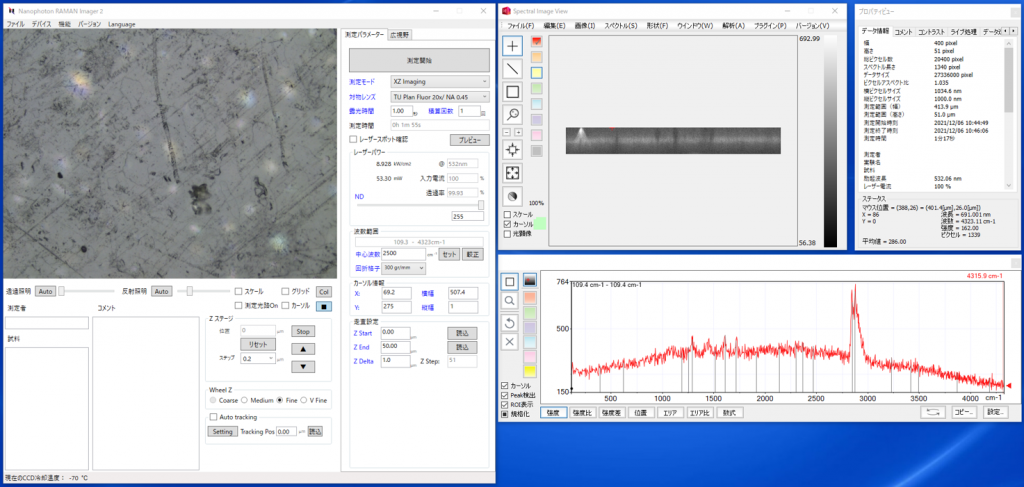
After setting the measurement mode to “XZ Imaging” and pressing the “Start Measurement” button, the results were displayed in no time. The measurement time was less than two minutes.
Automatic generation of Raman images
The next step is to analyze the layer structure of the plastic in the sample. We will rely on a function called “Automatic Raman Image Generation”. After selecting this function from the menu and pressing “Execute Calculation”, the Raman spectrum was analyzed and made into an image. In this measurement, it seemed to have found six different characteristic Raman spectra and color-coded them. The first three of them are shown in the next screen.
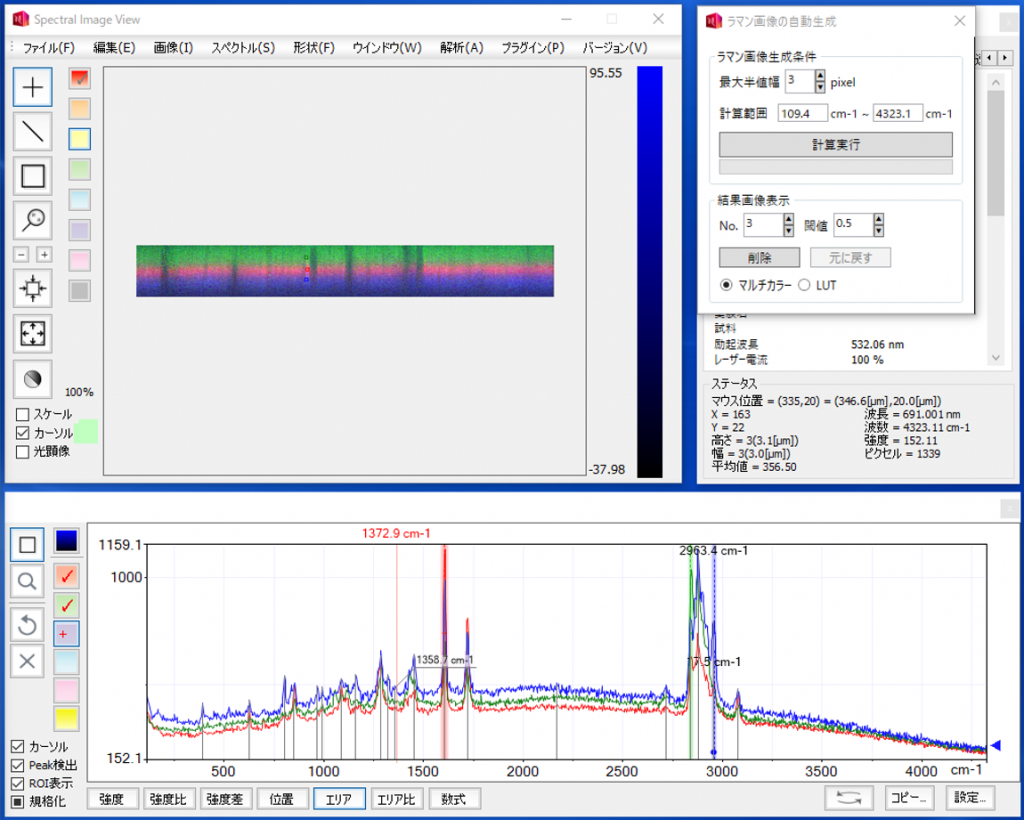
If you zoom in on the part that shows the three layers, you can see ……

By the way, the sample you measured is transparent.
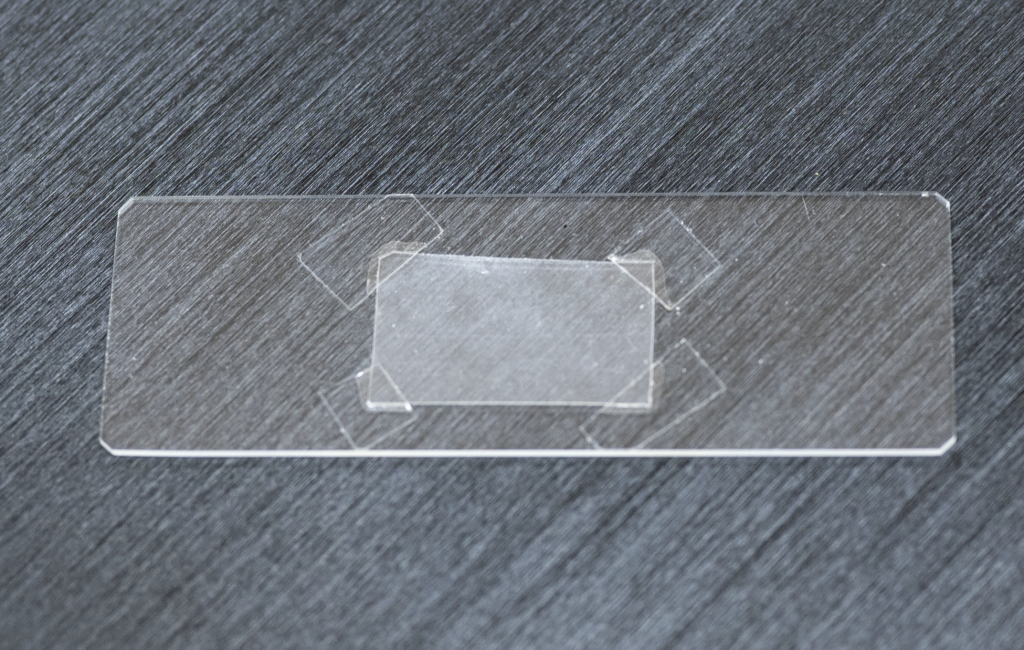
And yet, when you look at it with a Raman microscope, you can clearly see the three-layer structure. Well, that’s interesting.
In the past, I asked Nanophoton employees to measure various packaging plastics and containers, but I was impressed again when I did it myself. The packaging plastics around us look special.
Component analysis in database
The components of each of the three layers can also be quickly examined in the database. First, we analyze the spectral data of the middle layer, shown in red, with the software “KnowItAll”.
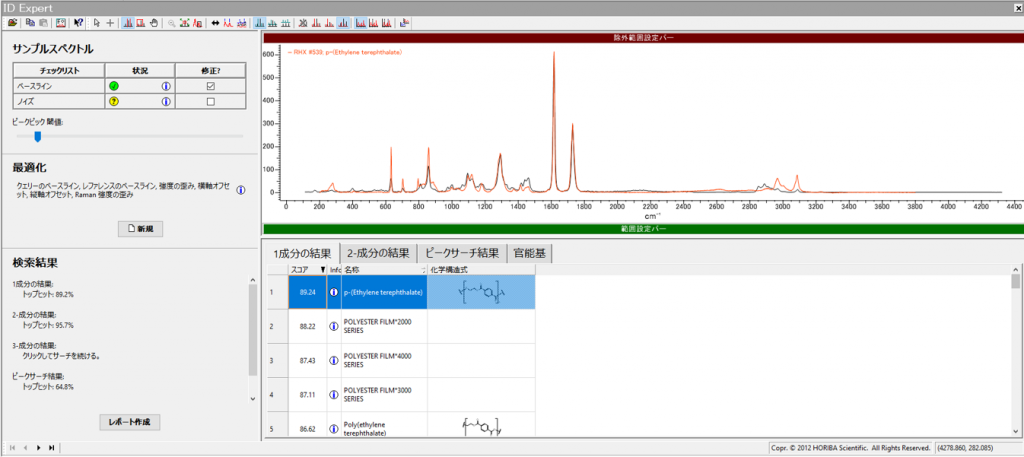
The highest score was “polyethylene terephthalate”. This probably means that the spectrum of the sample was compared with the spectrum of the database, and the best match was polyethylene terephthalate. This is PET used in plastic bottles.
Similarly, I examined the top layer (green layer) and the bottom layer (blue layer), and found that the top layer is “HDPE” (High Density Polyethylene) and the bottom layer is “Polypropylene”. I figured it out in a flash.
This makes me want to measure a variety of packaging plastics myself. Each plastic has its own specific properties and functions: polypropylene has moisture resistance and antistatic properties, PET has rigidity and aroma retention, and so on. The result of combining these in layers is, for example, a pack of bonito flakes that has a certain hardness and also prevents the inside from getting damp.
Well, that’s it for this time. I’m trying to think of what to be taught next.